

How to Prepare a Print-Ready File: DPI, Bleed and CMYK
What to check before sending a file to a printer: 300 DPI, 3 mm (1/8 in) bleed, safe zone, CMYK color and PDF output.
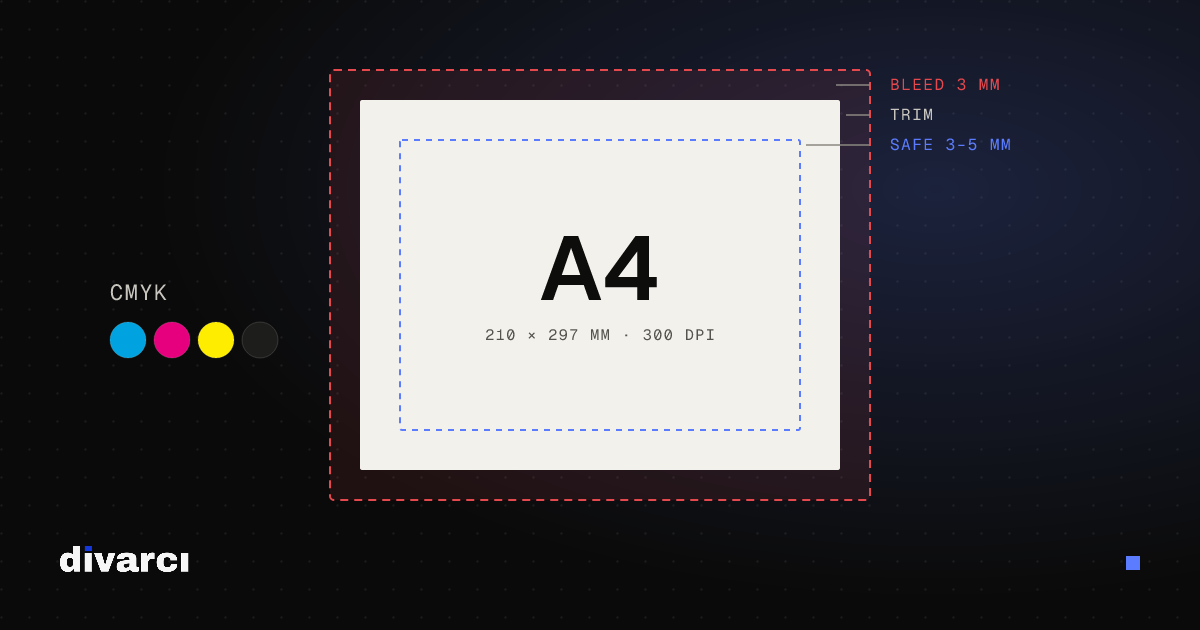
A design that looks perfect on screen can come out blurry, with white edges or dull colors in print. Almost all of these problems come from skipping a few basic rules while preparing the file. The points below apply to most printed work, such as posters, flyers, business cards and invitations, but the final word always belongs to your printer's specifications.
1. Resolution: 300 DPI
DPI (dots per inch) sets how much detail a printed image has. Work viewed up close (flyers, business cards, magazines) usually needs 300 DPI. Large posters and billboards viewed from a distance can use lower values.
What matters is the resolution at the printed size. An A4 page (210 × 297 mm), for example, needs about 2480 × 3508 pixels at 300 DPI. Switching a small 72 DPI web image to 300 DPI in software doesn't add detail; it will still print blurry.
2. Bleed
Printed sheets are trimmed after printing, and the cut never lands in exactly the same place. If a background color or photo runs to the edge of the page, extend the design beyond the trim line, usually by 3 mm (about 1/8 inch). Without bleed, thin white slivers can appear along the edges after trimming.
An A4 flyer with 3 mm bleed on every side, for example, is set up at 216 × 303 mm.
3. Safe zone
The cut can also drift inward. Keep text, logos and other important elements at least 3–5 mm inside the trim line. This margin matters even more on small items such as business cards.
4. Color mode: CMYK
Screens create color with light (RGB); printing presses use ink (CMYK). Some vivid RGB colors, especially bright blues, greens and oranges, can't be printed as vividly in CMYK. Preparing the file in CMYK, or converting and checking it, shows you the color shift before it reaches paper.
If brand colors must match exactly on every print run, ask your printer about Pantone (spot) colors.
5. Black
Small text is best set in black ink only (C0 M0 Y0 K100); a black built from all four inks can look blurry on thin type if the plates shift slightly. For large black areas, printers may recommend a "rich black" for a deeper tone; ask your printer for their values.
6. Fonts and the final file
Printers usually ask for a PDF. When exporting, make sure fonts are embedded (or text is converted to outlines) and that the bleed is included in the PDF. Some printers require a specific standard such as PDF/X.
Pre-flight checklist
- Is the document size correct, with bleed added?
- Are images around 300 DPI at the printed size?
- Are text and logos inside the safe zone?
- Is the color mode what the printer asked for (usually CMYK)?
- Are fonts embedded, and does the PDF include the bleed?
To calculate the document size with bleed in pixels, millimeters and inches, and to check whether your image is large enough to print, use the Print Size & DPI Calculator.
More posts
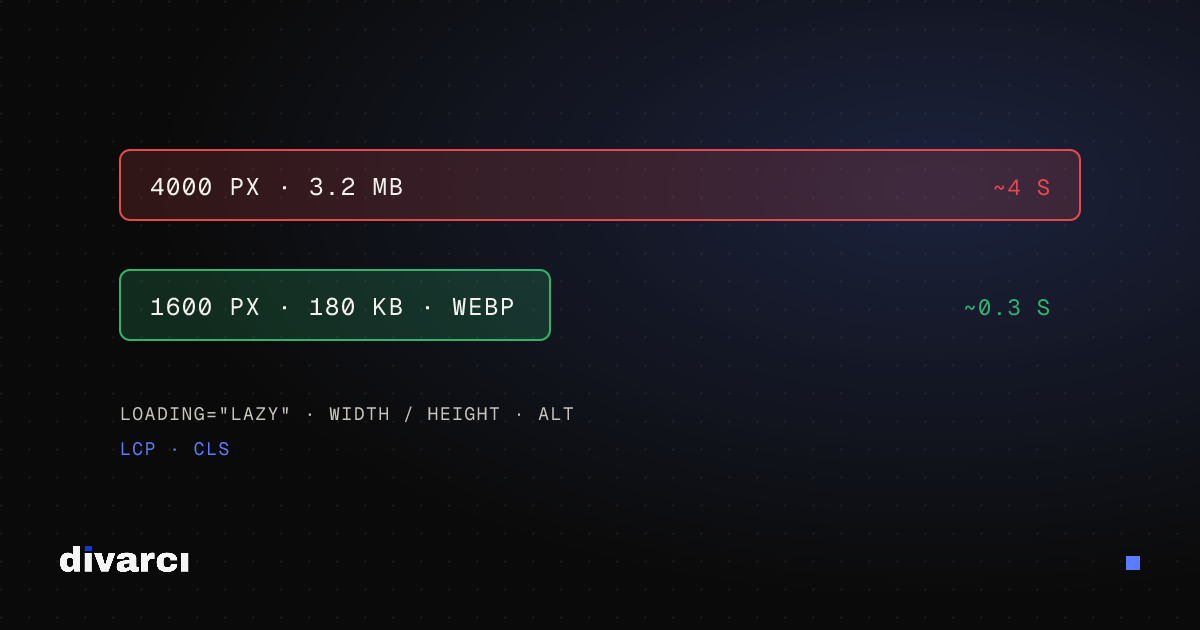
Optimizing Images for Websites: A Guide to Faster Pages
Prepare your website images with the right size, format and compression so pages load faster and perform better in search.
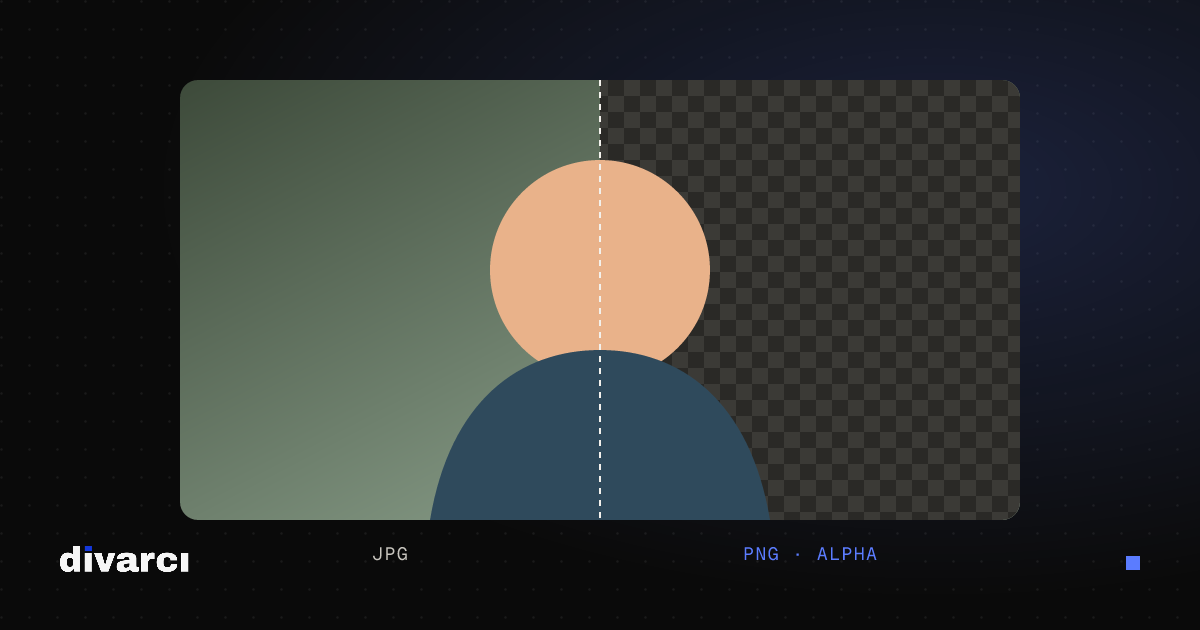
How to Remove a Photo Background: A Practical Guide to Transparent PNGs
Shooting tips for clean background removal, edge settings, manual touch-ups and saving a transparent image in the right format.
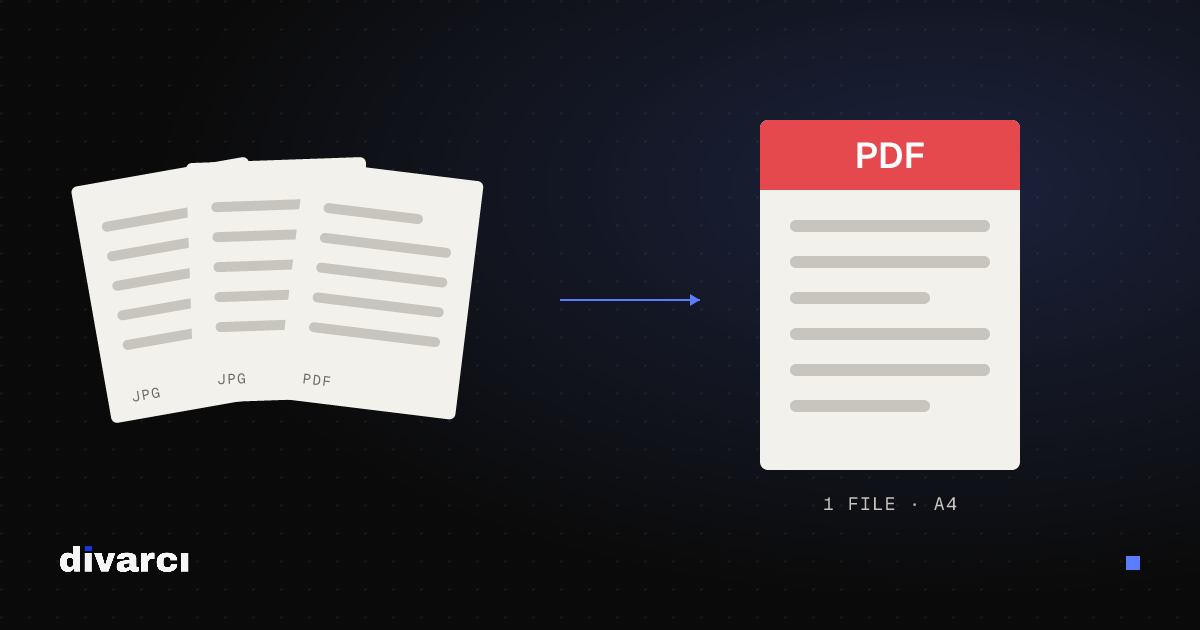
Putting Documents into One PDF: Photos to PDF, Merging and Splitting
Turning documents photographed with a phone into a PDF, merging several PDFs and removing pages you don't need, for applications, email or archiving.