

How to Remove a Photo Background: A Practical Guide to Transparent PNGs
Shooting tips for clean background removal, edge settings, manual touch-ups and saving a transparent image in the right format.
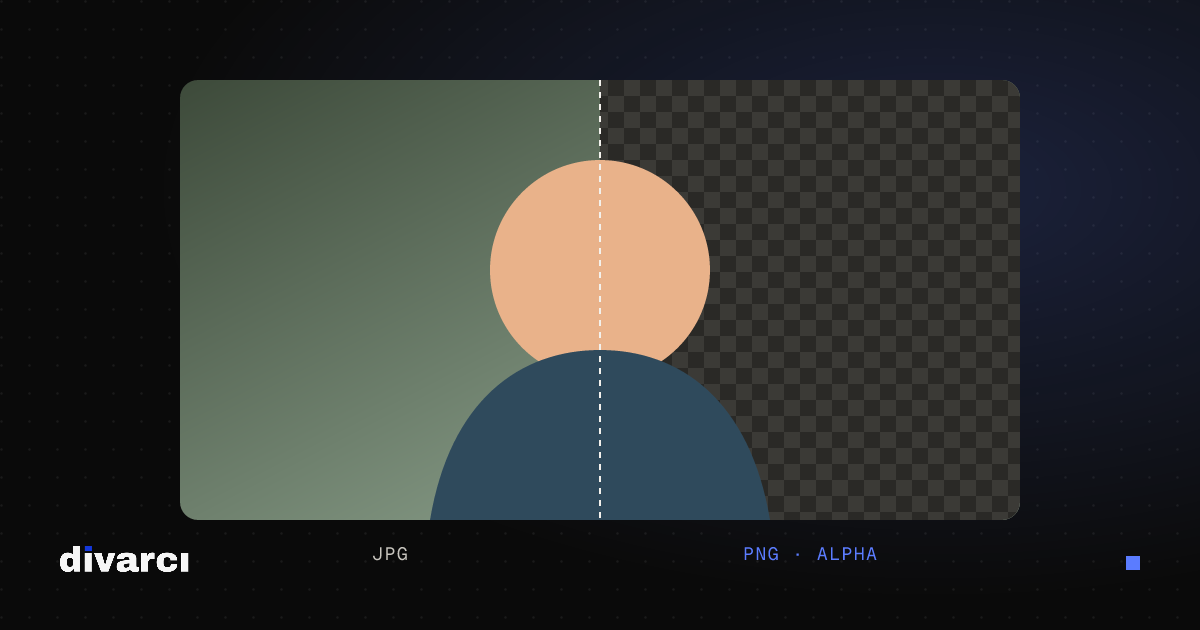
A photo with its background removed makes the subject stand on its own in product images, profile pictures, slides and social media designs. AI-powered tools can do it in seconds, but the quality of the result depends heavily on the photo itself.
How to shoot for a good result
- Separate subject and background: A white product in front of a white wall is hard for the model to separate. Choose a plain background that contrasts with the subject.
- Keep the background simple: Busy, patterned backgrounds increase errors.
- Use even light: Hard shadows are sometimes treated as part of the subject.
- Keep the subject sharp: Out-of-focus, blurry edges can't be separated cleanly.
- Leave space around the subject: Parts touching the edge of the frame look cut off.
Difficult cases
Some subjects are harder for every tool: flyaway hair and fur, glass and transparent objects, semi-transparent fabrics such as tulle and lace, and edges the same color as the background. In these cases you'll need to touch up the automatic result by hand.
What the edge settings do
- Edge hardness: high values give crisp edges, low values soft ones. Harder edges usually look more natural on products, softer ones on portraits.
- Shrink / grow: if a thin strip of background remains along the edge, shrink the mask slightly; if part of the subject was cut off, grow it.
- Feather: blurs the edge slightly so the subject sits more naturally on a new background.
Manual touch-ups
However good the automatic result, small mistakes can remain. The brush's Erase mode cleans up leftover background, and Restore brings back parts removed by mistake. Zooming in and changing the brush size for each area speeds things up.
Save in the right format
Transparency survives only in formats that support it:
- PNG: supports transparency everywhere; the safest choice.
- WEBP: supports transparency with smaller files; ideal for websites.
- JPG: doesn't support transparency; the background is filled with white or your chosen color.
What to put behind the subject
- A solid color: a clean look for product images. Many marketplaces require a white background for the main product image; check the rules of the platform you sell on.
- The original, blurred: keeps the setting while lifting the subject; gives portraits a natural sense of depth.
- Another image: for slides and social media designs.
The Background Remover puts all of these steps on one screen: the AI model runs in your browser and your photo is never uploaded. Download the result as a transparent PNG or WEBP, or with a color, blurred or custom background.
More posts

Optimizing Images for Websites: A Guide to Faster Pages
Prepare your website images with the right size, format and compression so pages load faster and perform better in search.
Putting Documents into One PDF: Photos to PDF, Merging and Splitting
Turning documents photographed with a phone into a PDF, merging several PDFs and removing pages you don't need, for applications, email or archiving.

What Is a Type Scale? Heading Sizes, Line Height and Line Length
Setting heading and text sizes with a ratio instead of guesswork: modular scales, line height, ideal line length and fluid type sizes.